Welcome to the Sunnygeeks 2.0 Pledge Manager
IMPORTANT: If you have made a pledge in the Gamefound campaign, make sure you are logged in before continuing with the steps below.
Navigate to the Pledge Manager
Use a personal computer instead of a mobile phone for a better experience.
If you are using the Edge browser and experiencing issues, please switch to Chrome, Firefox or Safari browsers
The link to the Pledge Manager is after the guide. Click on it and you will be redirected to the Pledge Manager, which is split into 2 parts.
The Browsing Area
The Bundles Area

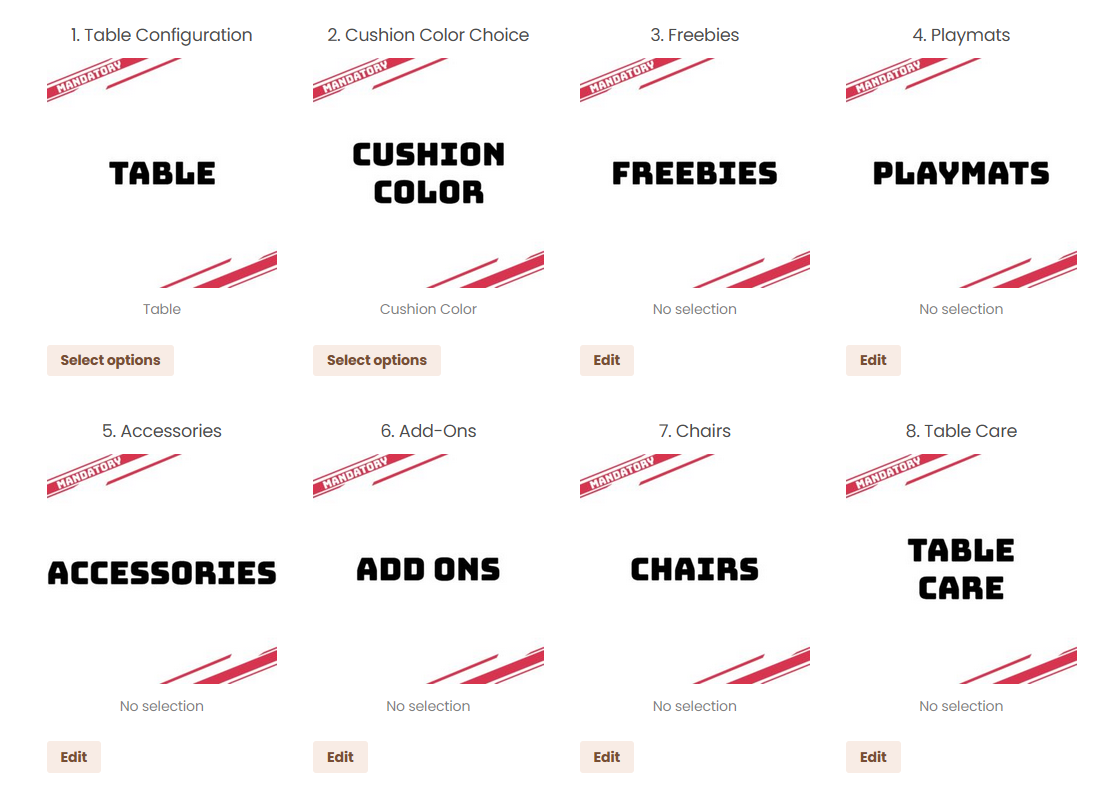
Please make sure to complete the first three steps before making any other selections. The choices you make in Steps 1, 2, and 3 automatically apply to all remaining options in the pledge manager.
For example, if you select a Burgundy cushion, any accessory that includes a cushion will default to Burgundy. The same rule applies to your table color and other linked options.
If you add items to your cart and later change one of these initial selections—like switching your table from Walnut to Cherry, some accessories in later steps may no longer be compatible and could trigger errors (e.g., a Walnut table with Cherry drawers).In short: use the first three steps as your foundation, and complete them before moving forward.
Configure your table.
Begin by clicking on the “Select Options” button at the “Table Configuration” section:
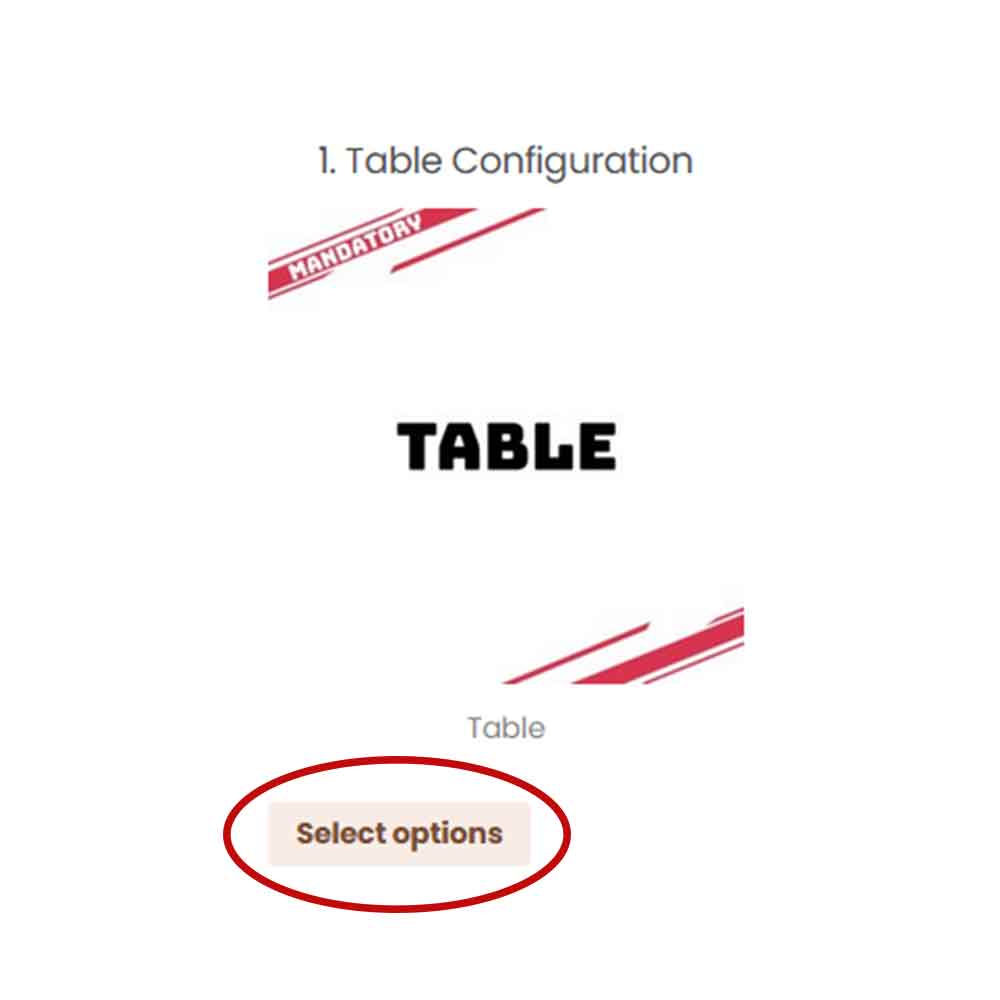
There, you will be prompted to select your table's options
After you have selected your table’s options, click on “Review Selections” to go to the next step.
Cushion Colors
Do the same for the Cushion Color selection.

Choose your Cushion Color Here
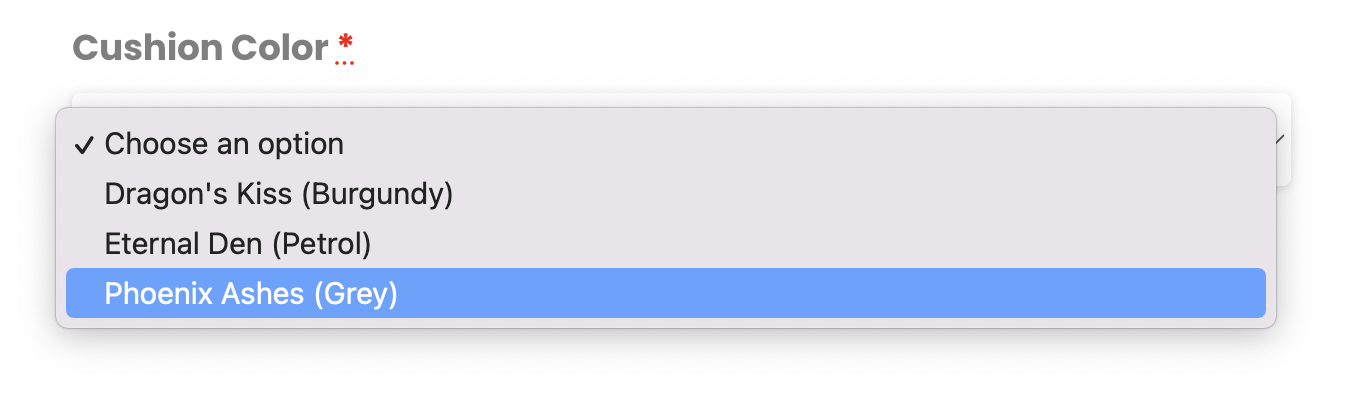
The Cushion Color you pick here will apply to ALL accessories that have cushioning. Click on “Review Selections” to go to the next step.
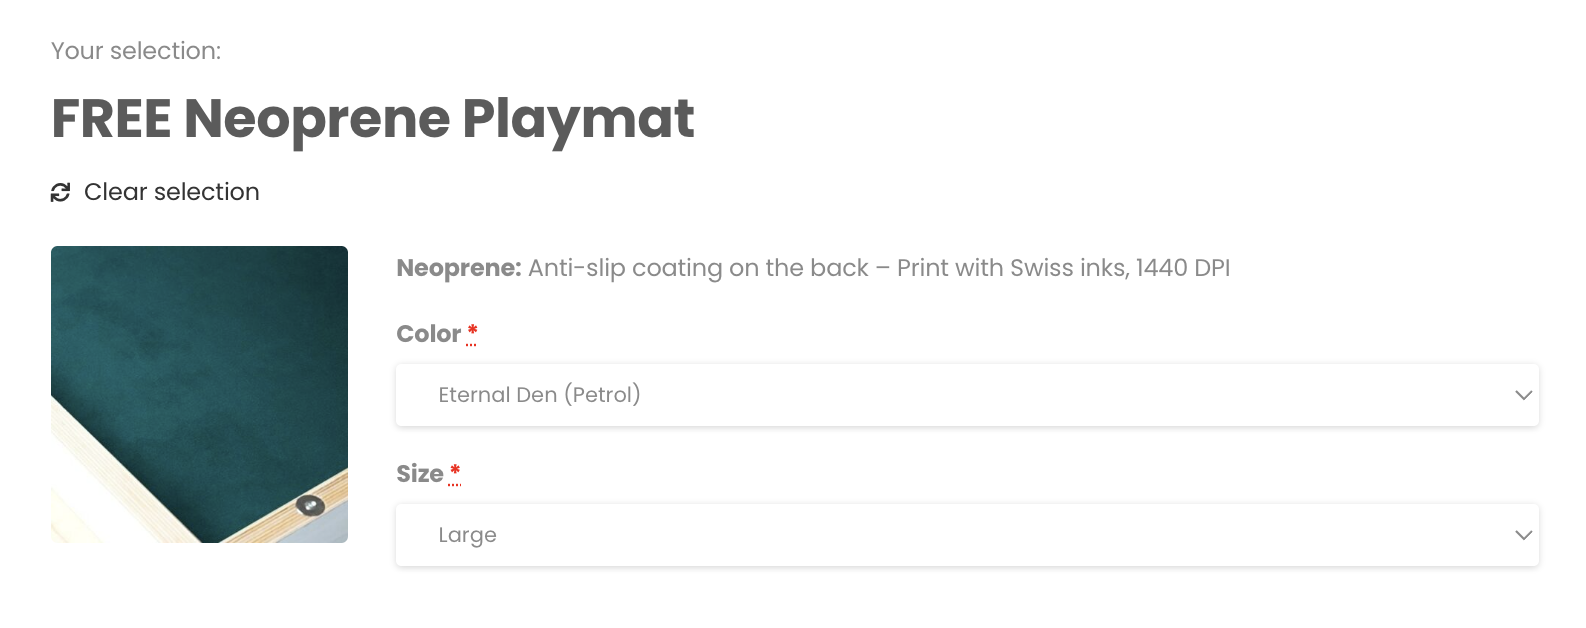
On the Free Neoprene Playmat section, now that you have made your basic selections, select the color of your free playmat to have it added to your order!
Gamefound Freebies
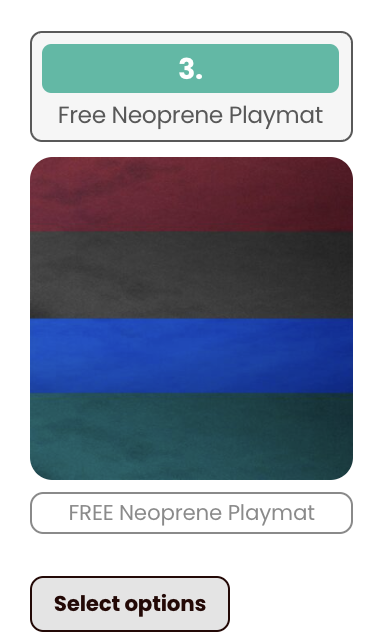
IMPORTANT: In addition to the free Playmat, every Gamefound backer will also receive Water-Resistant Toppers, 2× Tea & Beer Holders, a pair of plexi dividers, the adjustable height system, and extra Rathskellers goodies, ALL FOR FREE. They’ll be included automatically with every order.
*Be sure to select the color of your free Playmat*
Click on “Review Selections” to go to the next step.
Playmats Selection
On the Playmats section, once again, select the only available option, “Playmats”. Then, all available Playmat options will be shown.
Choose the Playmats option from the dropdown.


Choose any extra playmats that you want & click on “Review Selections” to go to the next step.
Accessories, Add-ons, Chairs, Table Care
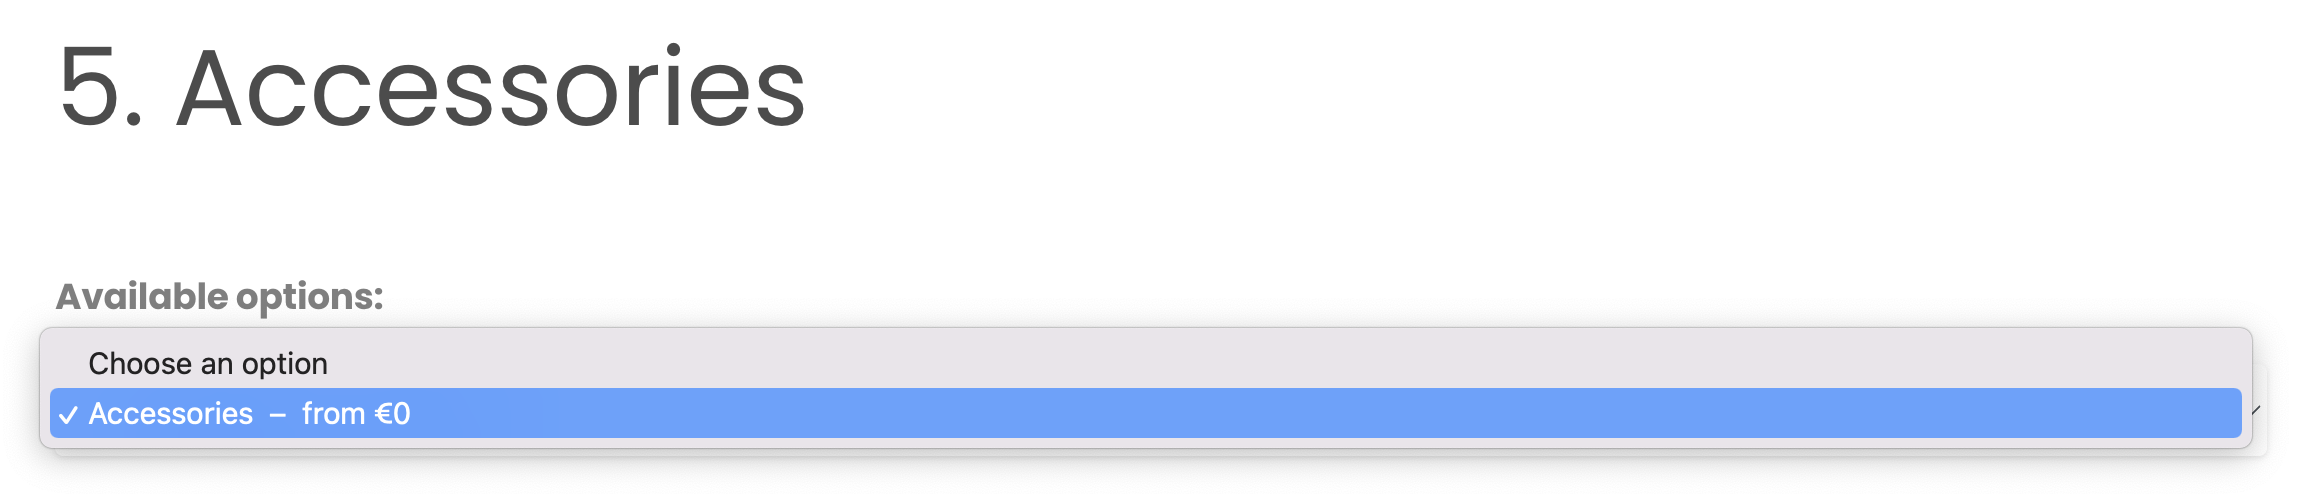
For steps 5-8, select the only available option from the dropdown, just as you did at Step 4.

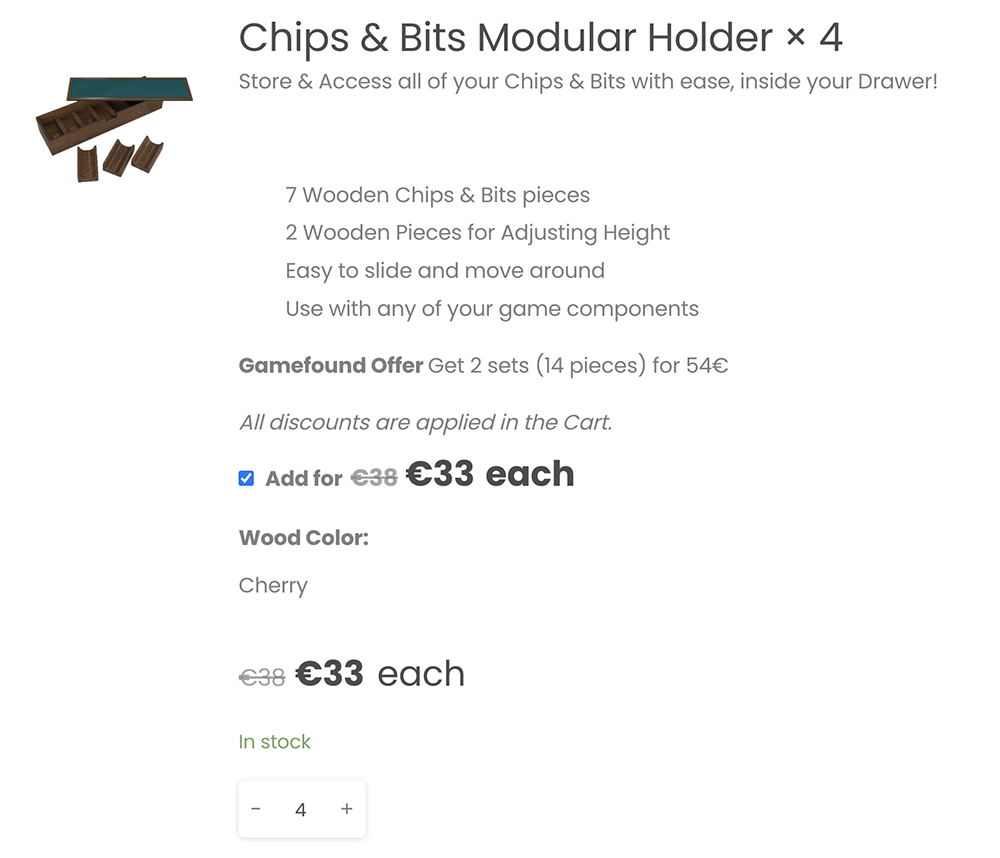
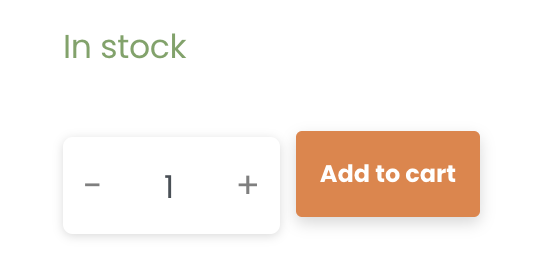
Then, the items of that section will be shown. If you wish to add an item to your order, click the checkbox and adjust quantity (for example, adding 4 Chips & Bits Modular Holders below)
NOTE: Even if you do not add any item from a certain step to your cart, you must still select the available option from that step, like shown below:
As with all previous steps click on “Review Selections” to go to the next step.
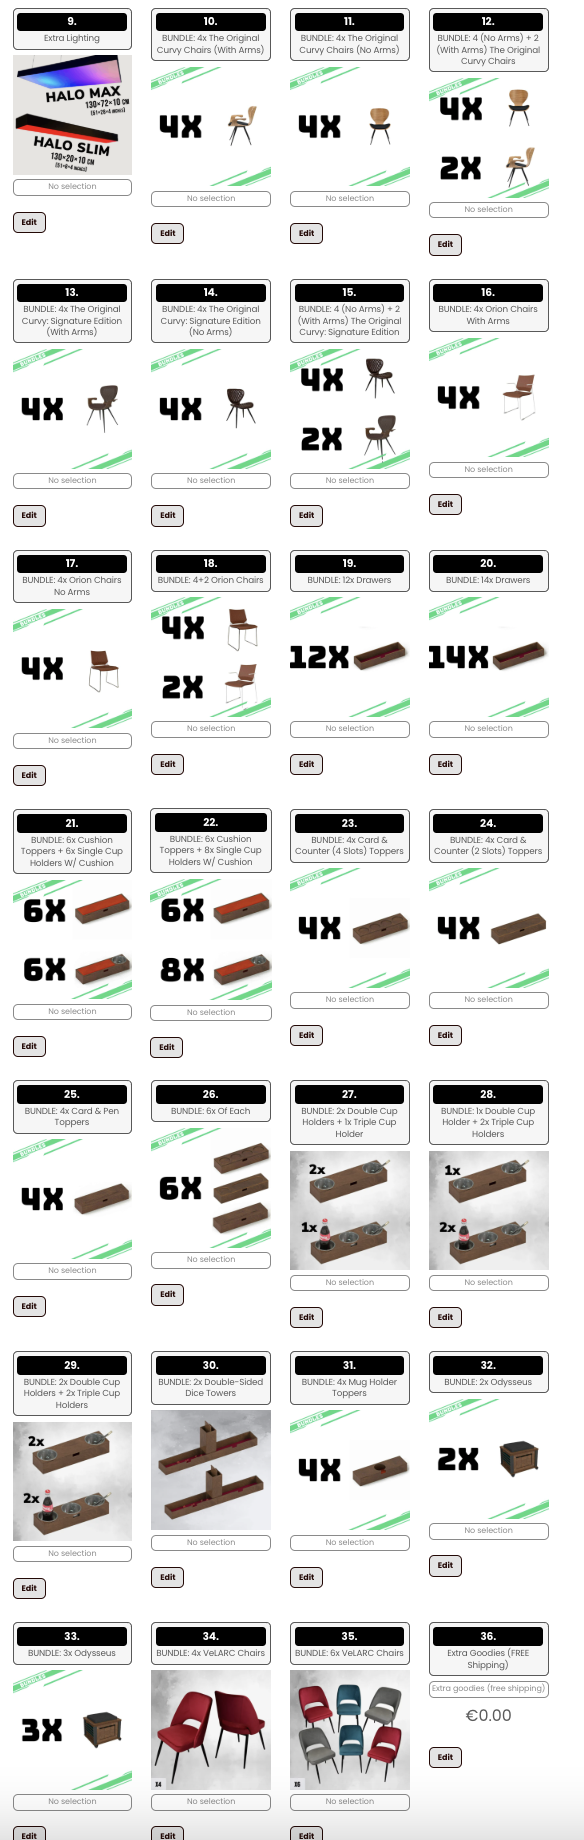
You can freely select any of the bundles to add to your order.
For example, if you wish to get a 2x Odysseus Bundle, you just have to press the "Edit" button:
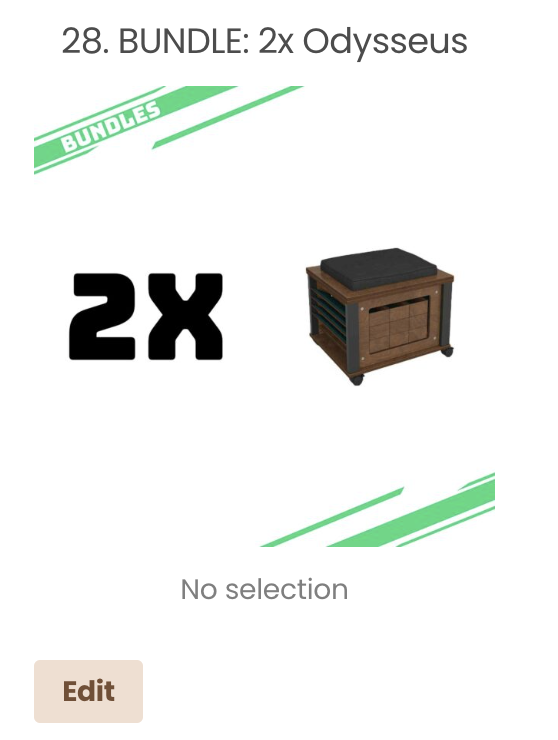
Then, select the bundle:

You can also adjust its quantity, if you wish to get more of a specific bundle.
As with all previous steps click on “Review Selections” to go to the next step.
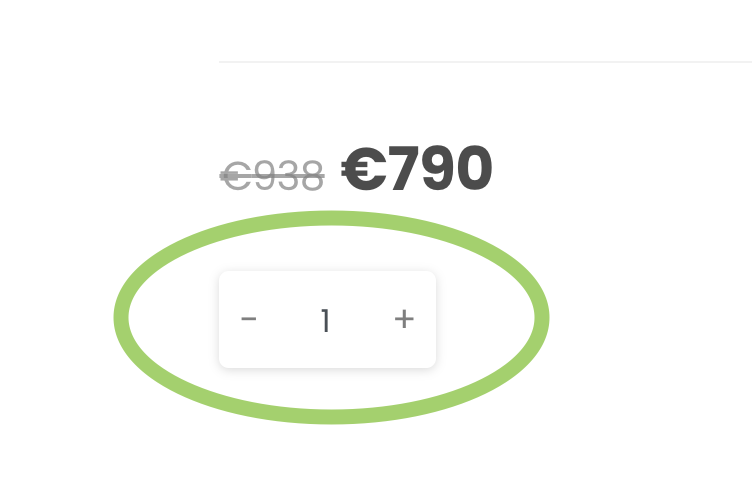
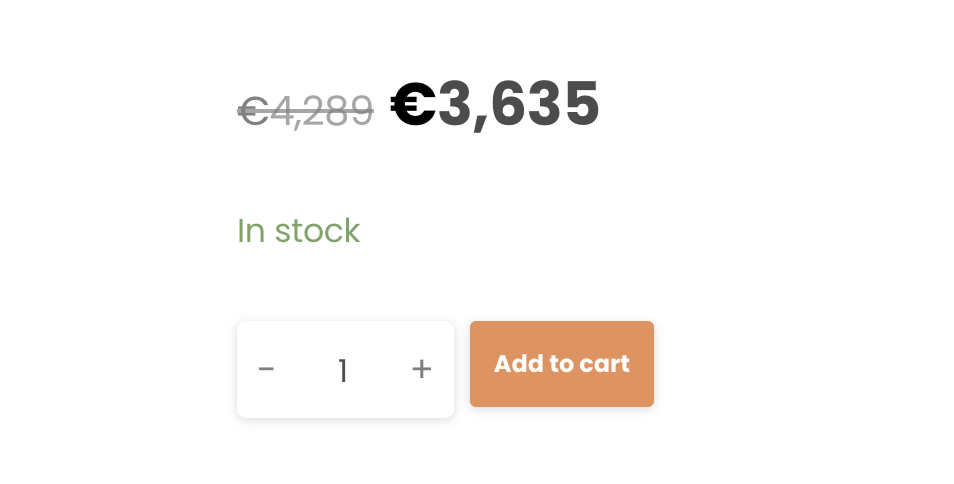
After you have made your selections, press the “Add to Cart” button.
The MSRP will also be visible so you can see how much money you're saving by backing us on Gamefound.
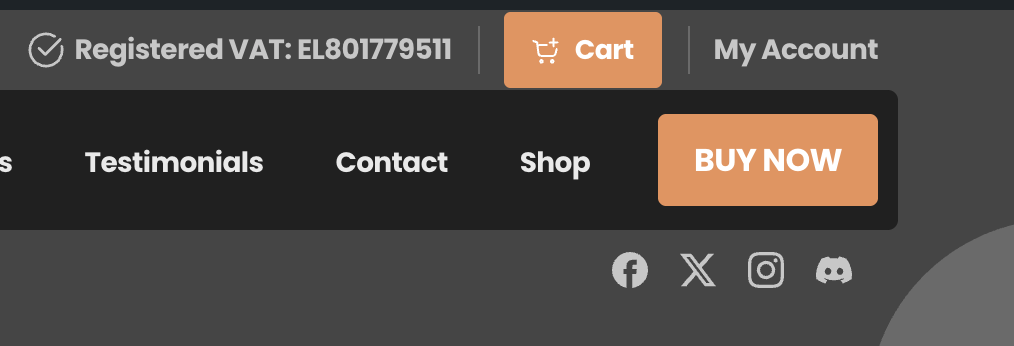
Please wait for the page to reload and click on the view cart button located on the top of the page.

Or go to your cart (shopping cart icon, next to the “My Account” section)
You will see a breakdown of all your selections here. Make sure that everything is correct. If you wish to edit your table build, you can do that by clicking on the "Edit" Button to go back to the Pledge Manager.

In the checkout page, fill all your Billing and Shipping information as normal. Scroll down and confirm that you have everything you want in your order.
IMPORTANT: Only backers of the Gamefound campaign will have a Gamefound Balance. If you are a Gamefound backer, ensure that you are logged in before continuing!

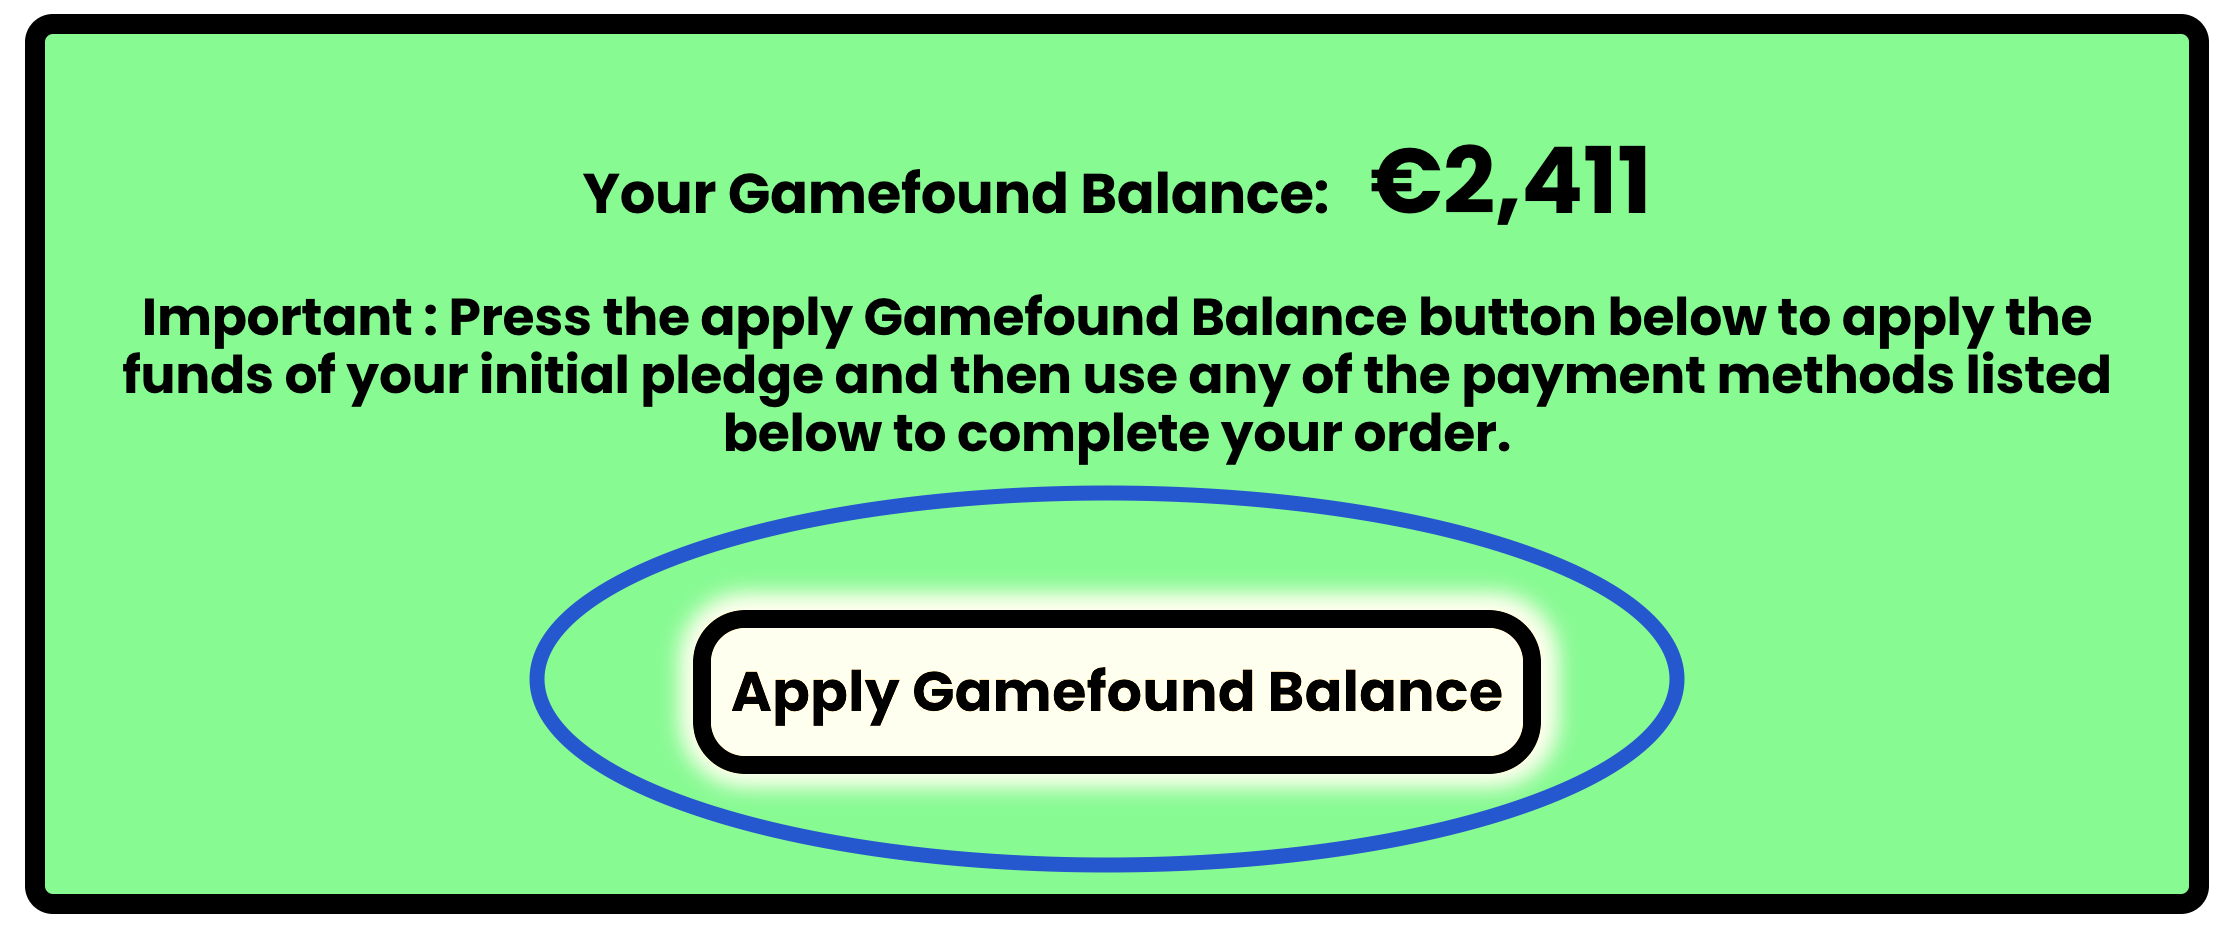
THE MOST IMPORTANT STEP
Make sure to click the “APPLY GAMEFOUND BALANCE” button! This will apply your Gamefound pledge as a discount to your order!
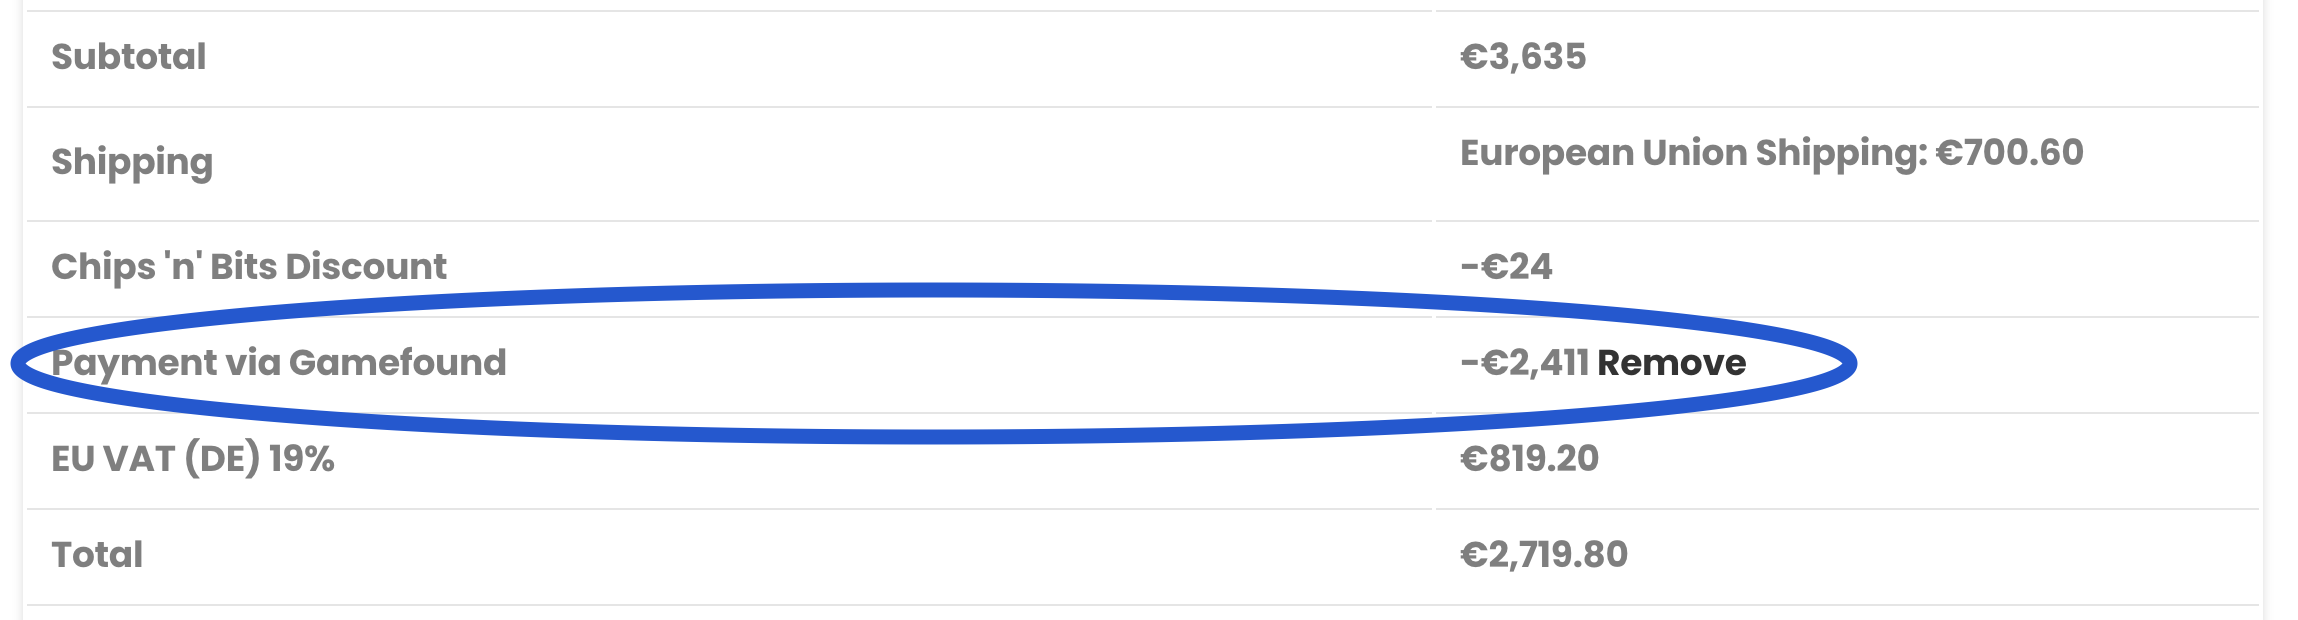
After you click it, make sure that the “Payment via Gamefound” shows up at the breakdown, as a discount, deducting your Gamefound pledge from the order’s total:
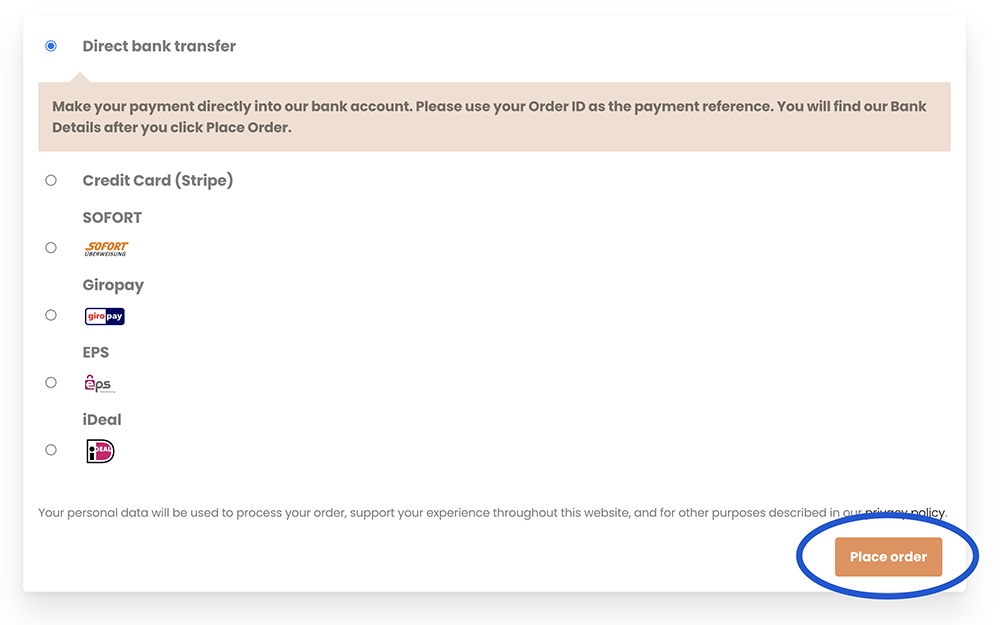
Select your preferred payment method from below, to pay for the rest of your order, if your order’s cost exceeds your Gamefound pledge, and click on the "Place Order" button.